DIY: Mini Live Succulent Wreath
This living succulent wreath is an inexpensive and fun DIY project. The finished product is a captivating and memorable expression of summer around a bottle of La Crema wine.
La Crema guest blogger, Chelsey Andrews, from The Paper Mama shows you how:
The weather is getting warmer and that means it’s BBQ time! Some good food and chilled wine outside around the new blooming plants. Sounds lovely, right?
Enchanting #DIY: Mini Live Succulent Wreath http://t.co/qtz6163b1O
— La Crema Winery (@LaCremaWines) May 28, 2014
I recently made my Mini Live Succulent Wreath to hang on a wine bottle. This little creation would be the perfect 2-in-1 gift: a bottle of wine and a super neat succulent wreath to hang on the wall! Bring this gift to your upcoming BBQ party. How perfect would it be for a housewarming gift, or maybe for a bridal shower?
You don’t really need a reason to give this gift. I think it would make the perfect “You’re an awesome friend/mom/dad/husband” gift. Do you want to make one? Check out the DIY below and have fun!
Let’s Get Started!
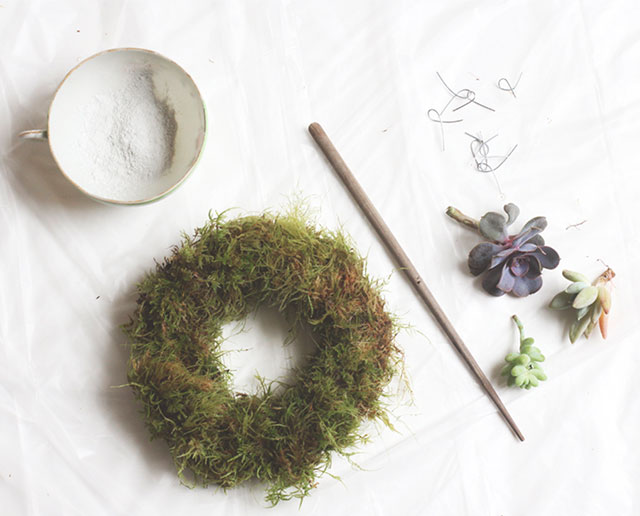
Supplies:
- Succulent starts
- Sphagnum moss
- Clear fishing wire
- Galvanized wire (I used 20 gauge wire)
- Wire cutters
- Plant clippers
- Floral pins (or make your own with galvanized wire)
- Chopstick
- Optional: rooting hormones
- Free Succulent Gift Tags printout on The Paper Mama blog
- A bottle of La Crema Chardonnay

The finished product. Follow the steps below to make your own!
Creating Your Mini Succulent Wreath
Step 1: Prepare your succulents

Trimmed succulents
You need a little collection of succulent cuts. I gathered mine from around my home. I have quite a few all over the house, and a few that are growing outside.
Just snip off a small portion from the plants. The amount of succulents needed will depend on the size of your succulent cuts. I tried to keep my cuts smaller than 2 inches wide (since this is a mini wreath).
I ended up using all of the cuts on the plate (photo above) for one mini wreath. I also suggest a 1 – 2 inch long stem.
Tip: If you’re gathering succulent cuts from both the outdoors and indoors there’s a possibility some of your cuts won’t make it. If a succulent plant is used to growing outdoors and is suddenly indoors, it can die. Same goes for moving a succulent from the indoors to outdoors. I took a risk and just used cuts from the outside and in. Only a couple cuts didn’t make it and those were easily replaced later.
Pick off any leaves at the base of the cut stems (this makes it easier to push it in the wreath later). Tip: you can grow plants from those little leaves you cut off! Just pop the open end into some dirt and after a few days some roots will start growing.
Let the succulent ends scab over at the cut. This took about 5 days for me. Don’t worry about the succulents drying up: They contain quite a bit of water and can go quite a while without watering.
Step 2: Making the mini wreath form
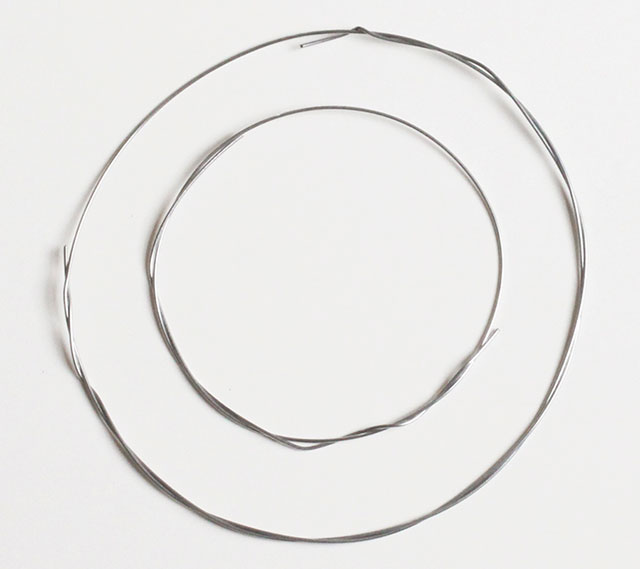
Cut wires in two different diameters
I wasn’t able to find a wire wreath form small enough for this project, so I made my own!
Cut out one 12 inch piece of wire and one 18 inch piece of wire.
Circle sizes: the inner circle has a 3 inch diameter. The outer circle has a 4.75 inch diameter (these sizes should work for most standard wine bottles, but adjust the sizes if needed). Form the two wires into the circle sizes listed above. To secure the circle, wrap the remaining wire ends around the circle.
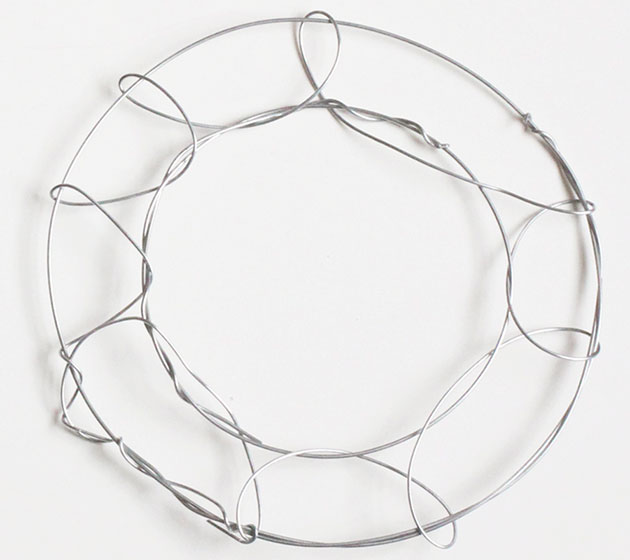
The completed wreath form
Next, cut another 18-inch section wire and use it to wrap the two circles together (make sure to keep the small circle centered in the large circle). Secure the end of the wire.
Now for the fun part: Let’s make a wreath!

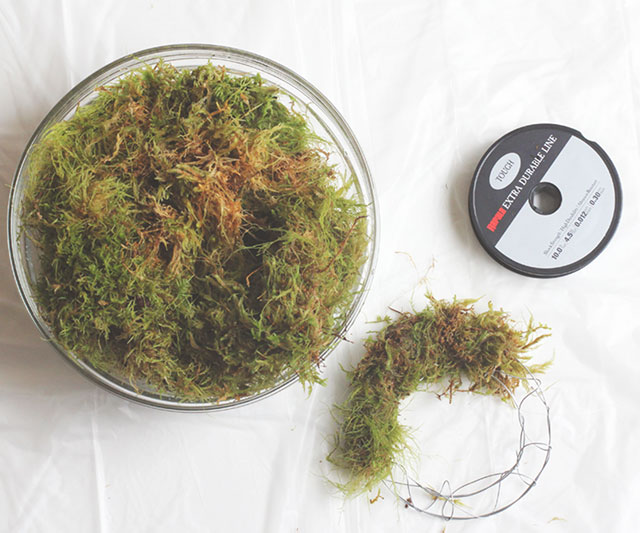
Soaking sphagnum moss
Soak about three large handfuls of the sphagnum moss in a bowl of water for about 5 minutes. Dump out the water from the bowl and squeeze the excess water out of the moss. The moss should be damp.
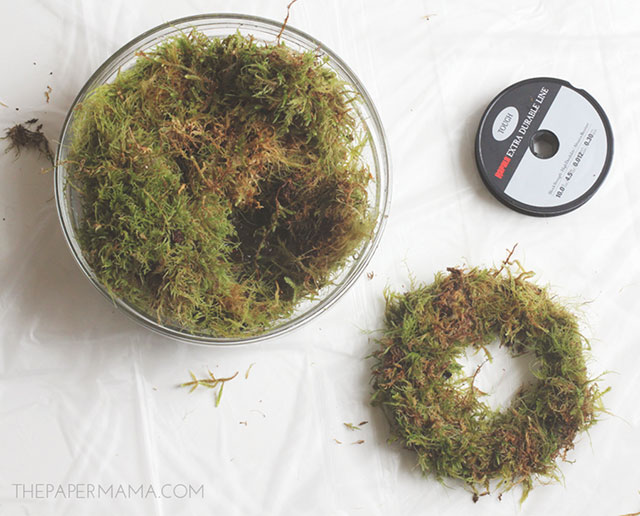
Tightly form the moss around your wreath form
Apply the moss: Grab a handful of sphagnum moss and mold it onto the wire wreath with your hands. Continue around the the whole form (from, back, sides, and enter). Make sure the moss is wrapped tightly around the wreath wire.
Secure the moss with fishing wire
Secure the moss: Tie the end of a piece of fishing wire around the wreath, then wrap the fishing wire around the moss to secure it.
Create a series of floral pins using the wire you bought for the wreath.
Floral pins: If you don’t have any floral pins, you can make your own! It’s pretty easy. Just cut a bunch of 1 to 2 inch wire pieces. Fold them in half to make a “U” shape.

Push a hole into the moss with the chopstick
Planting the succulents into the wreath: Arrange your succulent cuts in a circle on the table. Use the chopstick to push a hole into the moss.
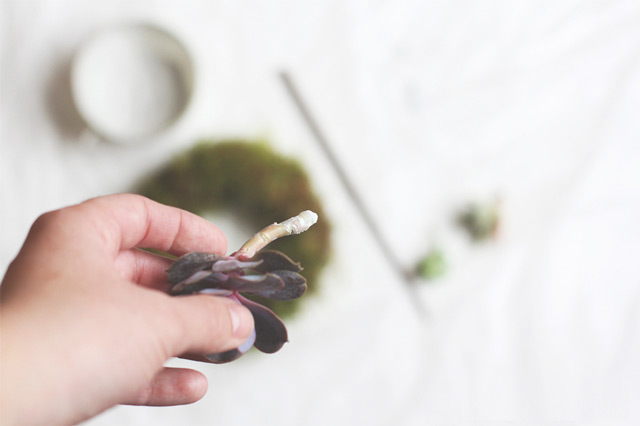
Note: the end of each succulent has been dipped in rooting hormones.
If you have rooting hormones, dip the succulent stem into the powder (the rooting hormones can promote root growth).
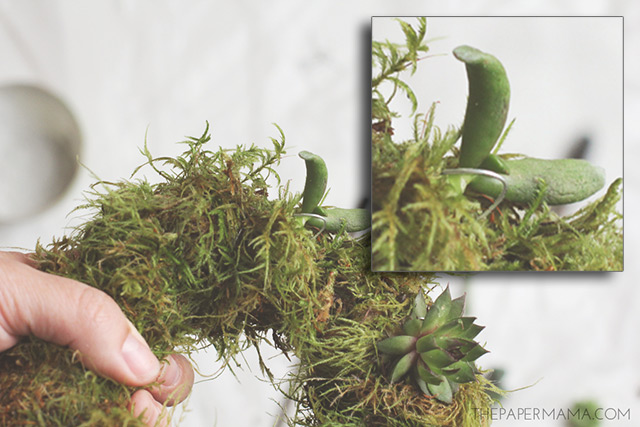
Close up of how to affix the floral hook on the succulent wreath.
Gently push the succulent stem into the hole you make with the chopstick. Use your floral pins to secure the succulent cut. Repeat with the remaining plants.
Tie a little loop with some of the remaining wire on the back of the wreath, so it can be hung on the wall later. Tip: since this mini wreath is decorating a wine bottle, don’t put too many plants in the center. Try and arrange them on the outer perimeter of the wreath. The bottle could damage them.

Ta-da! Now who wouldn’t be happy to receive this as a gift?
You’re done! Just place this little guy on the top of a wine bottle and give to a friend (or keep for yourself, I won’t judge).
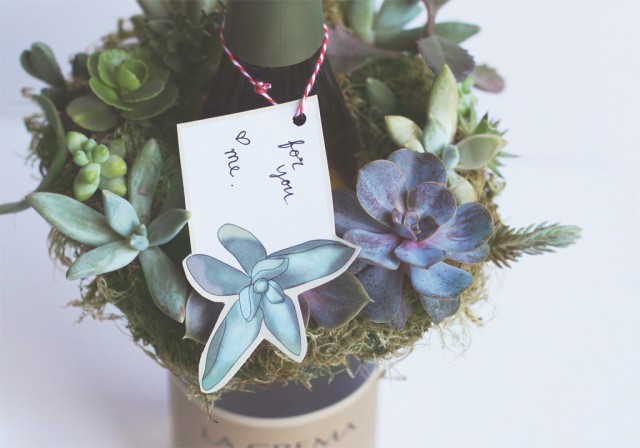
Don’t forget the free gift tags!
If you do plan on giving this as a gift, you can download my free Succulent Gift Tags over here. Tip: I suggest making this gift a couple weeks in advance. This will give your roots time to sprout and then you can remove any visible floral pins. You can also replace any cuts that don’t make it.

Remember, this is a living wreath. Keep it alive by simply soaking in water.
Keeping your wreath alive: every 3 weeks or so you’ll need to soak the wreath in water for a few minutes. If a succulent cut dies, you can easily replace it. Just repeat the succulent cut steps and put a new plant in. If a plant outgrows the wreath, you can trim it back or replace it with a smaller cut (you can plant that outgrown succulent in a pot). Don’t worry if your moss browns, that will just happen over time.
This mini wreath cost me less than $10 to make. I only had to buy the wire, rooting hormones, and moss. I already had all the other materials.
Enjoy!
– Chelsey, The Paper Mama
Share this DIY on Pinterest!

This gorgeous mini succulent wreath DIY is an enchanting way to capture a little bit of summer. Makes a terrific hostess, or housewarming gift.


Comments