DIY Party Details: Window Menu Board
A hand-created menu board adds a fun element to your entertaining décor. Join our friend, Megan Flynn as she creates this versatile DIY.
I’ve never been much of a DIY-er until recently, but I must say that the few DIY projects I’ve done in the past few months were a really fun and cost-effective way to add a little more personality to our wedding.
I picked up this old window at a Habitat for Humanity in Virginia a few months ago, and with a little sanding and a few coats of paint, we had ourselves a homemade menu board for our reception! I’ll show you how I did it.
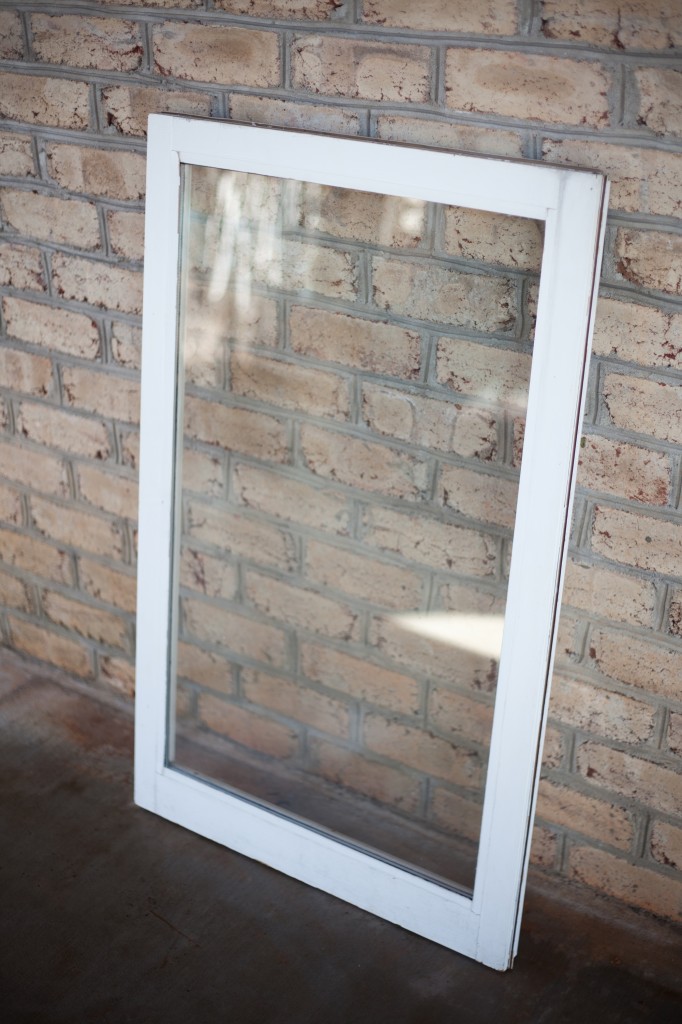
Finding a window at a thrift shop or yard sale is the first step. Sure you can buy on for retail, but what’s the fun in that?
Supplies:
- Window
- Sandpaper
- Masking tape or painter’s tape
- Newspaper
- Spray paint–I used two colors, green for the wood and white for the back of the glass (and less than one can of each)
- Dry-erase marker
- Optional: screwdriver, rags
Instructions:
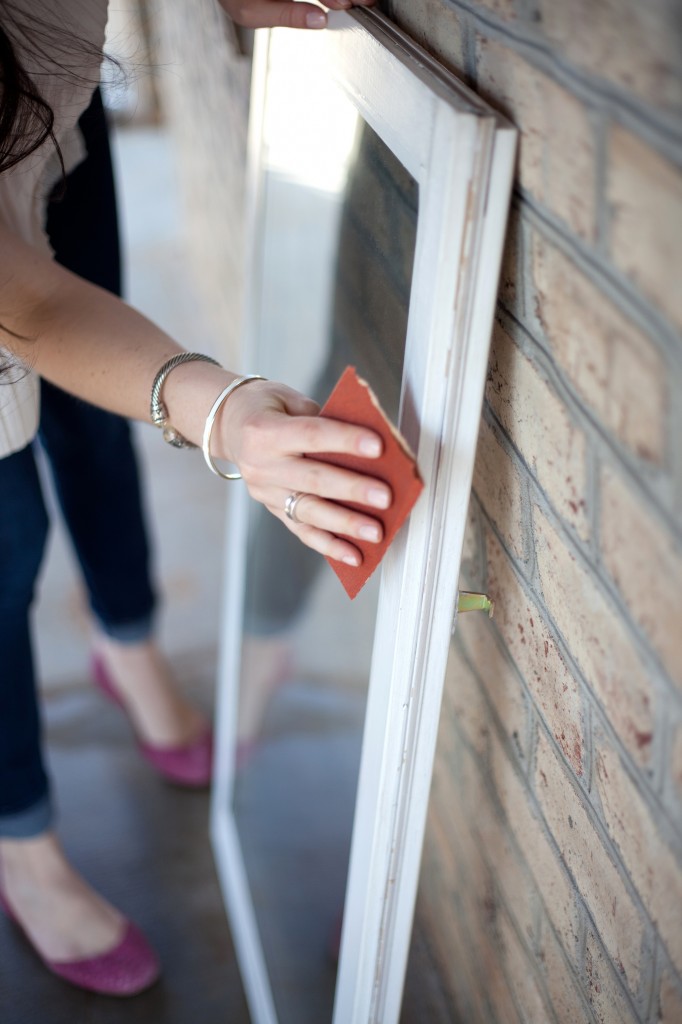
- Start with an old window. With a screwdriver, remove any hinges or metal pieces that are in the way. Clean it off with a damp rag if necessary, and give it a good scrub with a piece of sandpaper.
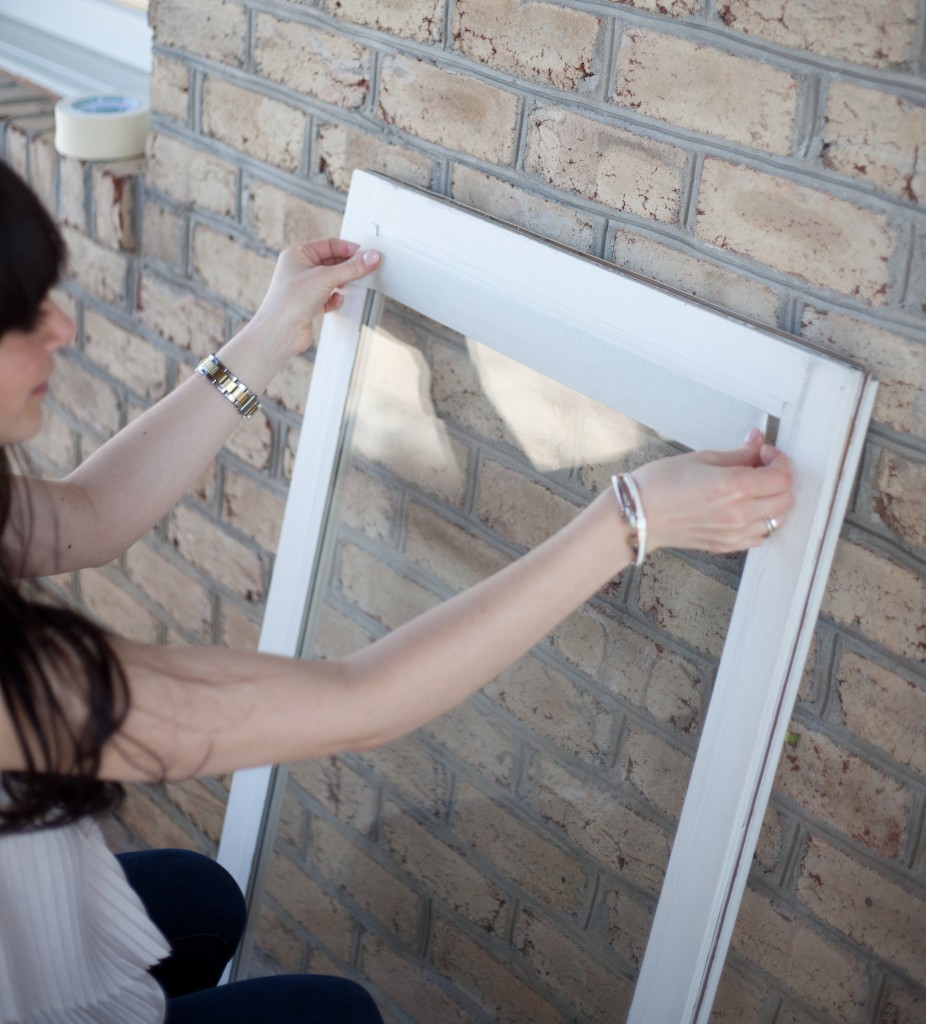
- Tape the edges of the glass to protect it from the paint.
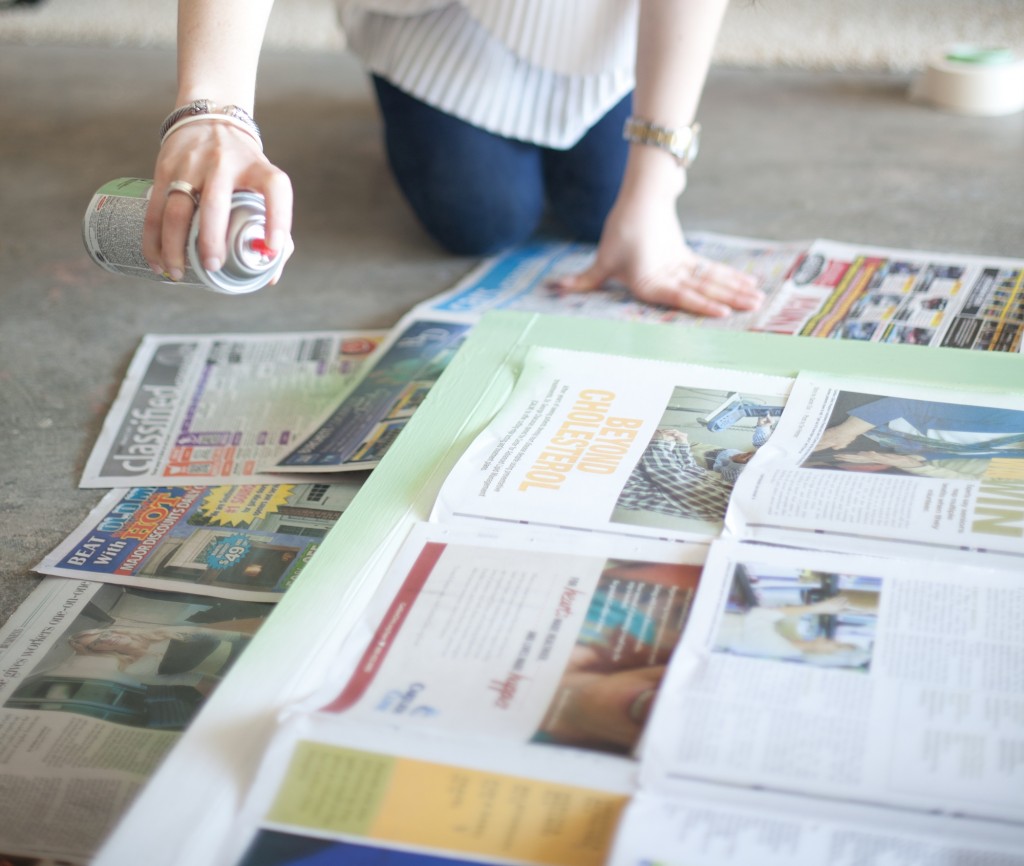
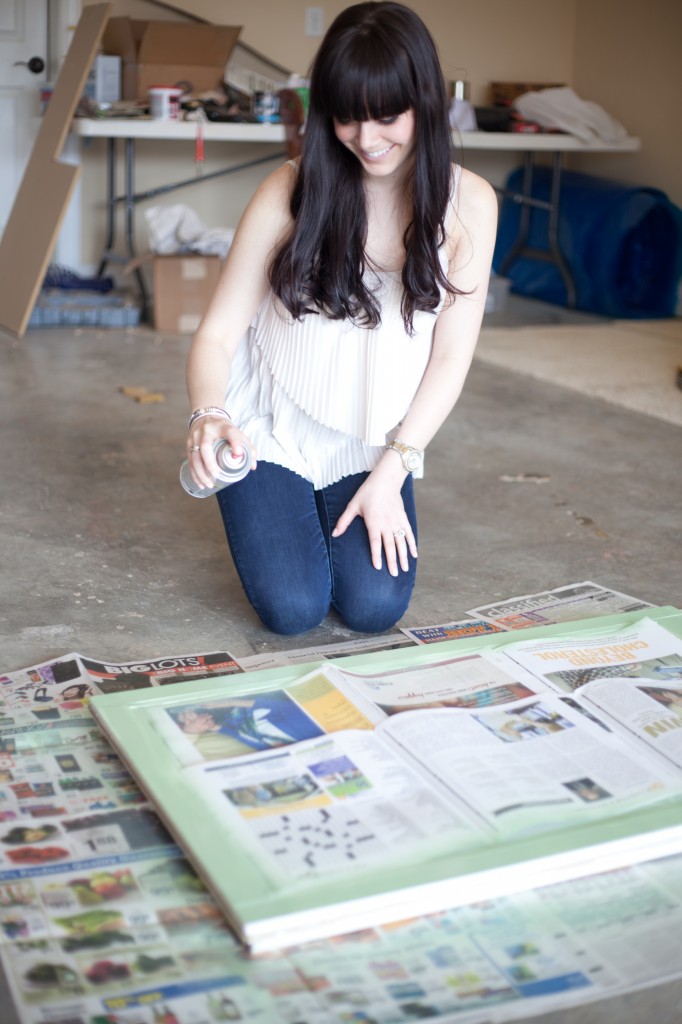
- Set up a painting area outside or in a well-ventilated area. Lay newspapers on the ground and along the un-taped glass.
- Spray paint the wood frame using short, even strokes. Let dry and add another coat.
- Turn the window over and carefully spray the back of the glass with white spray paint to create a frosted glass look. You can skip this part if you’d like, but it makes your writing on the other side stand out much more clearly, and I think it makes the whole project look a little more finished.
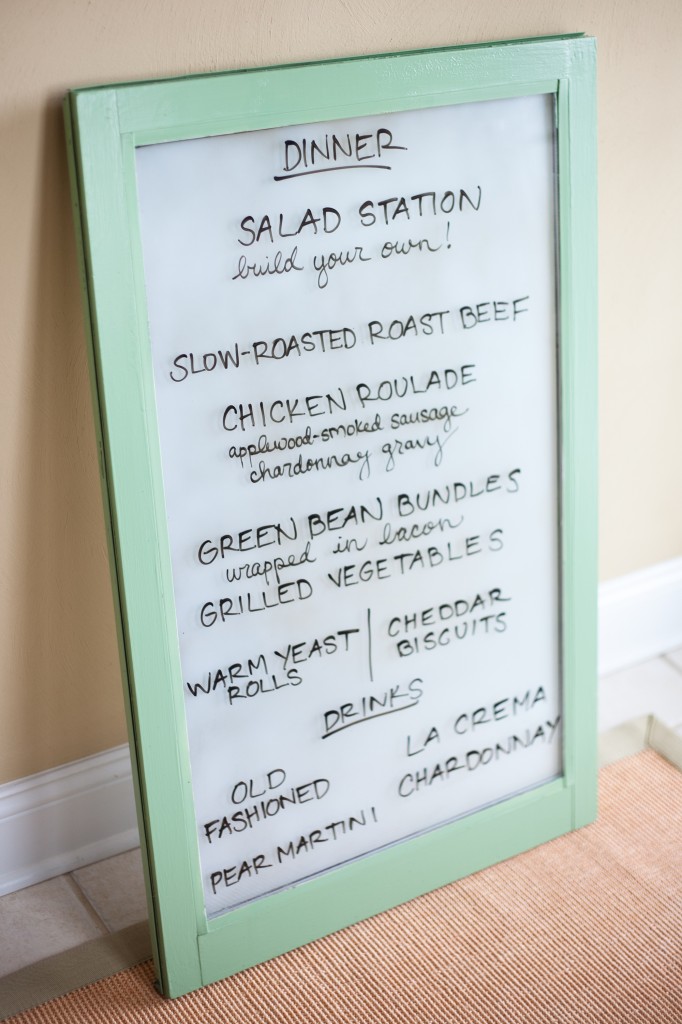
- Let dry and add your menu or whatever message you’d like to include on the front. Display and enjoy!
Perfect pairing: Combine this with a styled out bar cart for a terrific 1-2 entertaining combo.
Photos by Sarah Gatrell of Photo + Love.

Comments